Artwork Setup Guide
Before beginning…
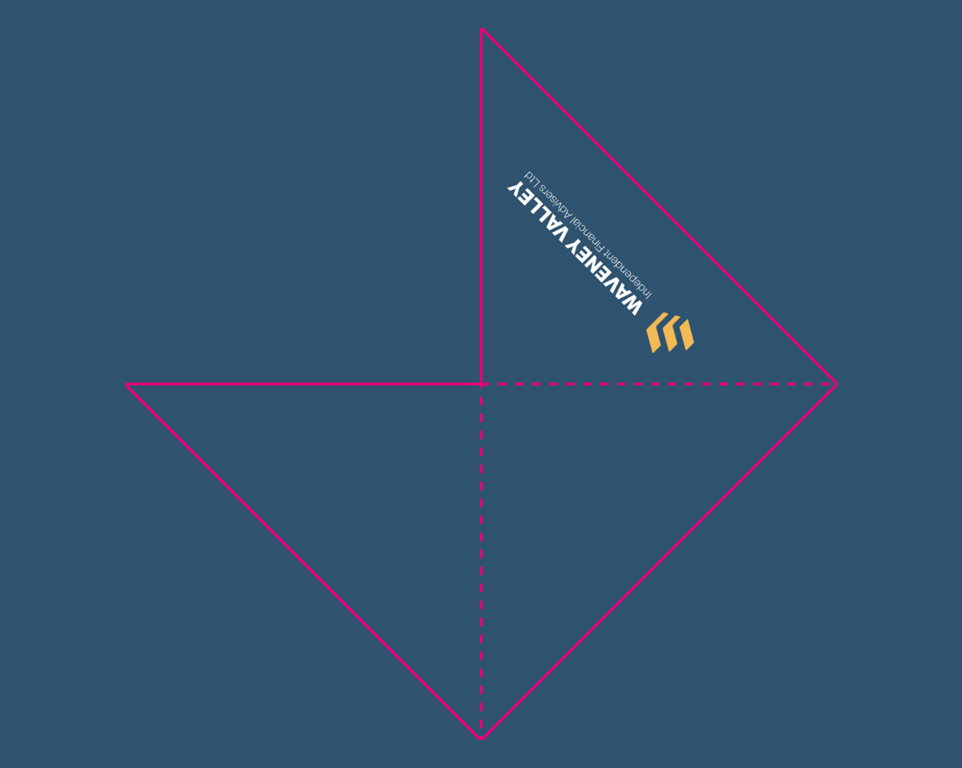
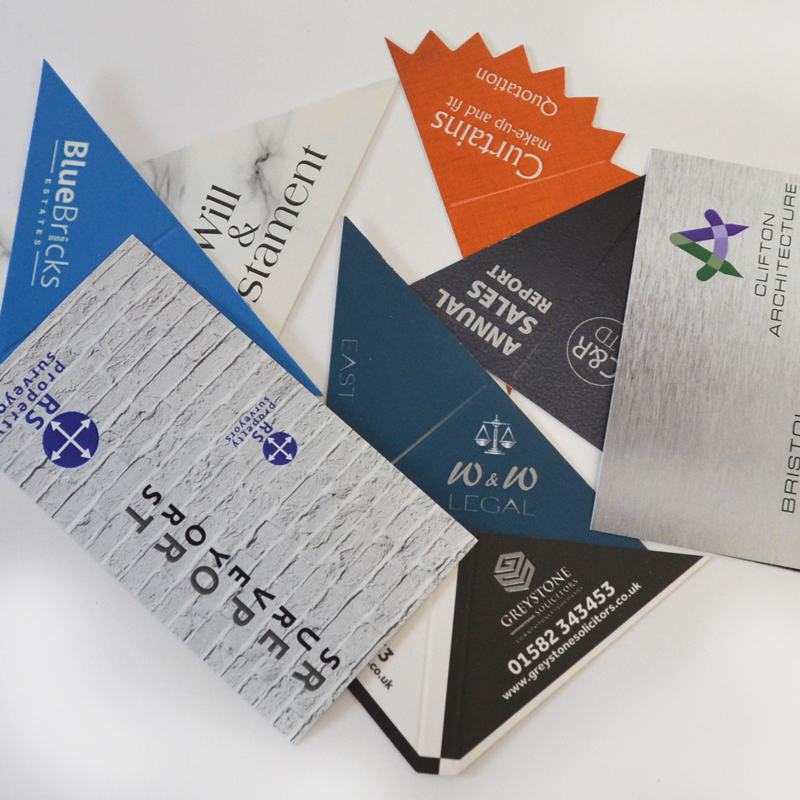
- First things first, head over to our templates page and pick your favourite to work from. This will ensure desired size and shape! Can’t find the template you’d like? No problem- contact us for custom shapes!
- Before starting work on your template, head over to our Design Tips page for some handy advice on creating your legal corners.
While designing…
- Make sure you include a 3mm bleed area or safe zone around the edges of your legal corner template, and ensure that any text or images fit within this area.
- If you’re using design software to create your custom printed document corner design, make sure it is set to CMYK and not RGB. This will ensure that your finished product is printed in the specific colours that you created.
- Any images should have a resolution of 300dpi to avoid unattractive or blurry pixelated prints. Your final design is no exception- save with at least 300dpi resolution.
- It’s helpful to have your design outlined in magenta (like our handy templates) as this will clearly mark the borders of your legal corners.
When you’re done…
- Proofread, proofread, proofread! The final design will be printed ‘as-is’, so make sure you give all your text, spacing and imagery a final proof before sending!
- It’s always a good idea to embed your fonts to make sure they don’t accidentally reset to the default.
- Save your completed legal corner design as a non-editable PDF and upload at the shopping cart! Alternatively, you can send it via email, WeTransfer or Dropbox.


Need help with preparing your design?
Get in touch for expert advice and support today